
View Our Recent Work:

Yacht through-deck fitting maintenance is defined as the scheduled inspection, sealing, and replacement of all hull penetrations, seacocks, hoses, and clamps that keep seawater outside your vessel. The industry term for these penetrations is “through-hull fittings,” though deck-mounted versions share the same maintenance logic. Neglect even one fitting, and you risk a slow leak that becomes a fast sinking. This guide covers the 2026 standards from RepairYachts, VIF Propellers, and Clayton Marine Surveys, giving you a clear, practical path to keeping every fitting tight, dry, and seaworthy.
What is yacht through-deck fitting maintenance and why does it matter?
Through-hull fittings are the bronze or stainless steel fittings that pass through your hull or deck to connect seacocks, raw water intakes, bilge pump discharges, and cockpit drains to the sea. Each one is a controlled hole in your boat. When they fail, water enters fast. Failed marine fittings can sink a vessel in minutes, a risk most owners dramatically underestimate compared to a household plumbing leak.
Proper maintenance covers the full assembly: the fitting body, the seacock or valve, the hose, the clamps, the sealant bed, and the electrical bonding wire. Each component has its own failure mode and its own service interval. Treating through-deck fitting care as a single annual checkbox misses the point entirely.
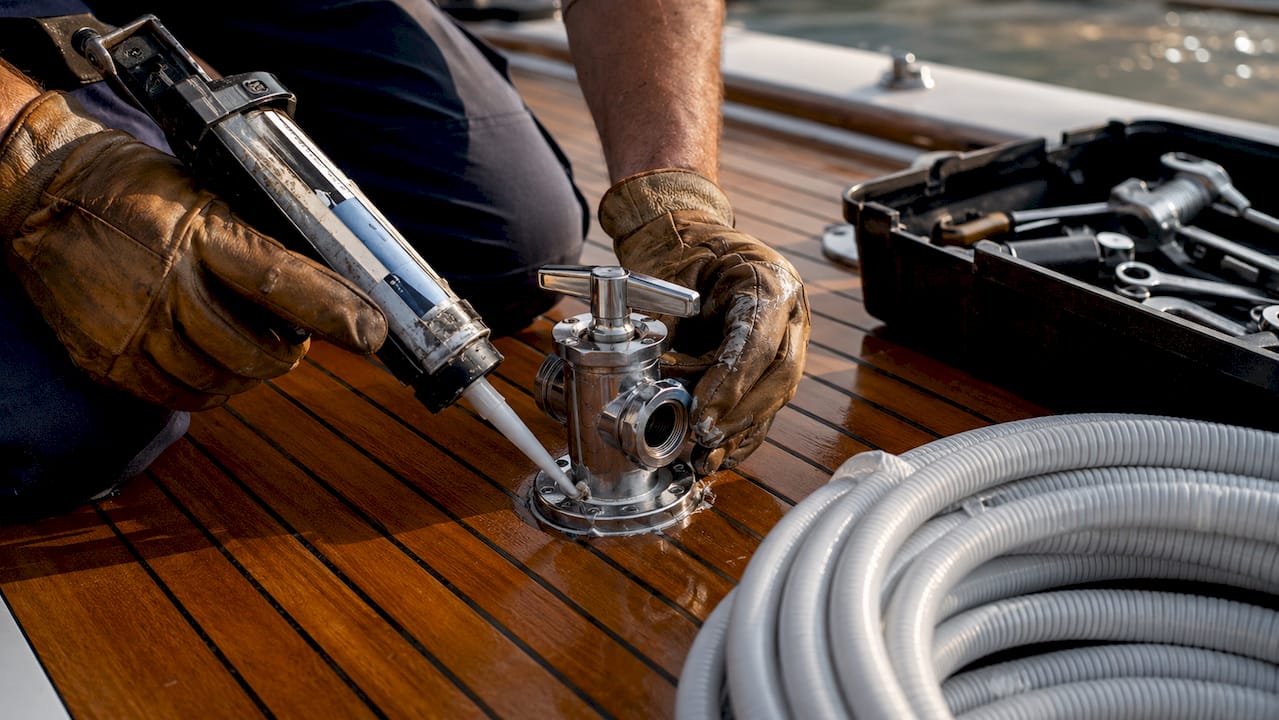
What are the key components of through-deck fittings?
Understanding what you are maintaining makes the work faster and the results more reliable. Through-hull assemblies consist of five distinct parts, each with specific material and service requirements.
- Fitting body: Cast bronze is the traditional standard below the waterline. Stainless steel works above the waterline but is vulnerable to crevice corrosion in oxygen-poor environments. Composite fittings from brands like Trudesign are gaining ground for their corrosion resistance.
- Seacock or valve: A flanged sea valve bolted to a backing plate is the correct choice below the waterline. Flanged sea valves are designed to withstand 500 lb static side loads, meeting the ABYC H-27.5 standard. In-line ball valves, which many production builders install to cut costs, do not meet this standard.
- Hose: Sanitation hose, raw water hose, and exhaust hose each have different wall constructions. All hoses connected to through-hull fittings should be replaced every 5–7 years as a preventive measure, regardless of visible condition.
- Clamps: Dual 316-grade stainless steel clamps are required for all fittings below the waterline. Position the tightening screws 180 degrees apart so that if one clamp loosens, the other still holds.
- Sealant: Marine-grade polysulfide or polyurethane sealants, such as 3M 5200 or Sikaflex 291, are the correct choice. Standard household silicone fails in saltwater immersion and should never be used on hull penetrations.
- Electrical bonding: Bronze fittings must be bonded to sacrificial zinc anodes using a green grounding wire. Without bonding, galvanic corrosion silently weakens the fitting until it crumbles.
Pro Tip: Run your finger around the base of each seacock where it meets the hull. Any soft spot, discoloration, or chalky residue on a bronze fitting is a sign of dezincification. Replace the fitting before it fails at sea.
How often should you inspect and maintain through-hull fittings?
Quarterly inspection is the 2026 standard for through-hull fitting care. Four times a year is not excessive. It is the minimum that keeps small problems from becoming structural ones.
A thorough quarterly inspection follows this sequence:
- Visual gap check: Look at the sealant bed around each fitting from inside and outside the hull. Any visible gap, crack, or separation means the seal has failed and water is finding a path.
- Corrosion check: Inspect bronze fittings for a pink or salmon color, which signals dezincification. Check stainless fittings for rust streaks, which indicate crevice corrosion.
- Clamp security: Grip each hose clamp with pliers and try to rotate it. A loose clamp on a below-waterline hose is an emergency waiting to happen. Tighten or replace immediately.
- Valve operation: Open and close every seacock fully. A valve that has not moved in months will seize. Operate each one quarterly to keep it free. Apply waterproof grease to the valve stem if it feels stiff.
- Hose condition: Squeeze each hose along its full length. Soft spots, cracks, or a spongy feel mean the hose wall has degraded. Replace it before it splits.
- Bonding wire integrity: Trace the green grounding wire from each bronze fitting to the bonding bus or zinc anode. A broken or corroded wire leaves the fitting unprotected.
Pro Tip: Keep a simple log with the date, fitting location, and condition notes for each inspection. A paper log taped inside a locker door works perfectly. When a surveyor or buyer asks about your maintenance history, that log is worth real money.
Regular deck fitting maintenance extends hardware life and prevents the kind of corrosion damage that turns a $200 repair into a $2,000 haulout.
What are the most common mistakes in through-hull fitting maintenance?
Most fitting failures trace back to a short list of avoidable errors. Knowing them in advance saves you from learning the hard way.
- Using household plumbing methods: Teflon tape, compression fittings, and PVC pipe have no place on a yacht hull. Marine through-hull assemblies require marine-specific materials and techniques. The pressure differentials, vibration loads, and saltwater chemistry are entirely different from a house.
- Skipping electrical bonding: Owners who install a new bronze fitting and forget the green grounding wire create a galvanic cell. The fitting corrodes from the inside out, invisible until it fails. Bonding to zinc anodes is not optional on a metal-rich hull.
- Installing in-line ball valves: Many production boats leave the factory with in-line ball valves that fail the ABYC H-27.5 standard. A kick or a collision that applies side load to the fitting can shear the valve body. Upgrade to flanged sea valves.
- Poor sealant application: Applying sealant to a wet, dirty, or oily surface guarantees adhesion failure. The hull surface must be dry, clean, and sanded before any marine sealant goes on.
- Single clamps or wrong-grade clamps: One clamp is not enough below the waterline. Clamps made from 304-grade stainless or with carbon steel screws will rust through in a season of saltwater exposure.
- Skipping the test fit: Dropping a fitting in without a dry run is the most common installation mistake.
“Test-fitting before sealant application prevents fitting thread bottoming out and ensures proper compression for a watertight seal.” — Drifting Along, Trudesign installation
What tools and best practices make fitting maintenance effective?
The right tools make through-hull work cleaner, faster, and more reliable. The wrong ones damage the fitting, the hull laminate, or the sealant bed.
- Step wrench: A step wrench grips the exterior flange of the fitting while you tighten the seacock inside. Using a step wrench prevents the fitting from spinning and tearing the fresh sealant bed. It is the single most important tool for this job.
- Thread lubricant: Apply a thin coat of waterproof grease to the upper threads of the fitting before installation. This prevents the sealant from bonding the threads together, making future removal possible without damaging the hull laminate.
- Marine-grade sealant: 3M 5200 provides a near-permanent bond suited for below-waterline fittings you do not plan to remove. Sikaflex 291 offers a stronger bond than silicone but remains removable. Match the sealant to the job.
- Backing plates: Every seacock below the waterline needs a fiberglass or marine-grade plywood backing plate to distribute load across the hull. A fitting bedded directly into thin laminate will eventually pull through.
| Tool or Material | Purpose | Correct Choice |
|---|---|---|
| Wrench type | Hold fitting during tightening | Step wrench (exterior flange) |
| Hose clamp grade | Secure hose to fitting | 316 stainless, dual clamps |
| Sealant type | Waterproof bed | 3M 5200 or Sikaflex 291 |
| Bonding wire | Galvanic corrosion prevention | Green grounding wire to zinc anode |
| Backing plate | Load distribution | Fiberglass or marine plywood |
For Florida yacht owners, the thru-hull safety guide from Mazzamarine covers material selection specific to warm saltwater and tropical UV exposure, which accelerates sealant degradation faster than northern climates.
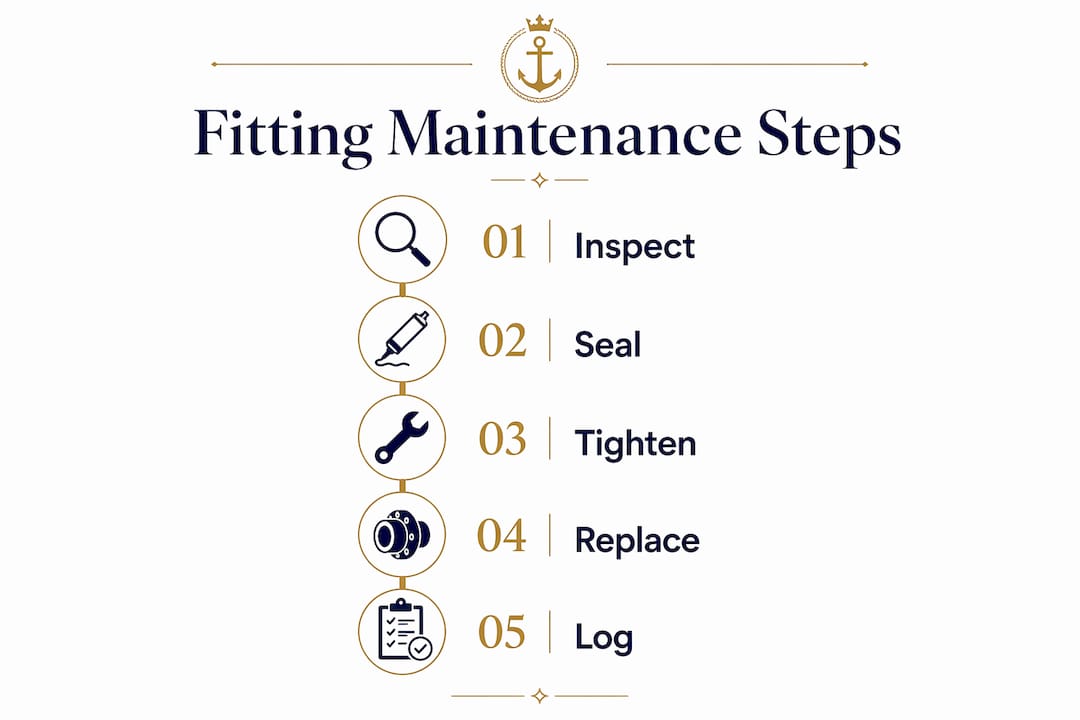
Pro Tip: After tightening the seacock, do not wipe away all the squeezed-out sealant immediately. Let it cure for 24 hours, then trim the excess with a plastic scraper. Wiping wet sealant smears it into the laminate and weakens the bed.
Key takeaways
Proactive yacht through-deck fitting maintenance, done quarterly with the right materials and tools, prevents the vast majority of hull penetration failures before they become emergencies.
| Point | Details |
|---|---|
| Inspect quarterly | Check every fitting, hose, clamp, and bonding wire four times per year. |
| Replace hoses preventively | Swap all below-waterline hoses every 5–7 years regardless of appearance. |
| Use dual 316 SS clamps | Position tightening screws 180 degrees apart for fail-safe redundancy. |
| Bond all bronze fittings | Connect each bronze fitting to a zinc anode with a green grounding wire. |
| Test-fit before sealing | Always dry-fit the assembly to confirm thread depth before applying sealant. |
What I have learned after years of watching fittings fail
The fittings that sink boats are almost never the ones that look bad. They are the ones nobody checked. I have seen owners spend serious money on electronics, paint, and upholstery while the seacocks below their waterline had not been operated in three years. That is the real risk profile on most recreational yachts.
The cost math is brutal and simple. A neglected zinc anode that costs $50 to replace can lead to $5,000 in shaft or fitting damage when galvanic corrosion goes unchecked. The same logic applies to a $12 hose clamp that fails on a raw water intake. The repair bill after a flooding event is never small.
What actually works is a calendar-based maintenance schedule with fixed quarterly dates, not a “when I get around to it” approach. Write the dates in your phone. Walk the bilge. Operate every seacock. It takes 45 minutes and it is the most valuable time you spend on your boat all season.
The other thing most articles skip: the test fit. Experienced installers measure hull thickness and trim the fitting threads before any sealant touches the hull. A fitting that bottoms out on its threads before the seacock flange seats against the backing plate will never seal correctly. That one step, done before the sealant goes on, prevents the most common source of new installation leaks.
— Jason
Keep your fittings tight with Mazzamarine

Through-deck fitting work rewards owners who stay ahead of it. When a fitting does need replacement or a seacock has seized beyond lubrication, professional service pays for itself in avoided damage. Mazzamarine connects Florida yacht owners with a trusted network of marine specialists covering complete yacht plumbing repair, thru-hull replacement, and scheduled maintenance packages. The team, built around brothers Mino and Luigi’s decades of hands-on experience, treats every vessel with the same care they would give their own. If you are not sure where your fittings stand, the 2026 marine repair service guide is the right starting point.
FAQ
What is a through-hull fitting on a yacht?
A through-hull fitting is a threaded bronze, stainless steel, or composite fitting that passes through the hull to allow water flow in or out. Each fitting connects to a seacock or valve that can shut off water entry in an emergency.
How often should through-hull fittings be inspected?
Quarterly inspection is the current industry standard. Each inspection should cover the fitting body, sealant bed, hose condition, clamp security, valve operation, and bonding wire continuity.
When should I replace hoses on through-hull fittings?
Replace all below-waterline hoses every 5–7 years as a preventive measure. Age and heat cycling degrade hose walls even when no visible cracking is present.
Why do in-line ball valves fail on yachts?
In-line ball valves do not meet the ABYC H-27.5 standard, which requires seacock assemblies to withstand 500 lb of static side load. A flanged sea valve bolted to a backing plate provides the structural support that ball valves cannot.
What sealant should I use for through-hull fittings?
Use a marine-grade polyurethane sealant such as 3M 5200 or Sikaflex 291. Standard silicone fails in sustained saltwater immersion and should never be used on hull penetrations below the waterline.
Recommended
Text or Call 954-330-9653 Schedule Appointment
Mazza Marine Yacht Services & Refit

Fiberglass Upgrades and Damage Repair

Premium Yacht Paint/ Faux Teak

Fishing: Custom Rods, Reels,Tackle

Electrical, Electronics and Navigation

Paint, Hull and Gelcoat

Teak Decks, Wood Cabinets, Carpentry

Canvas, Enclosures and Upholstery

Mechanical, Repower and Running Gear

Plumbing, Bilge and Thru-Hulls

Welding and Custom Fabrication

Interior Refit And Past Work
Get your yacht value Estimate
"*" indicates required fields